In this tutorial you will navigate to the PandA web control interface, explore the block list, view block details, and open the layout panel. By the end you will know how the main areas of the UI fit together and be ready for the hands-on tutorials that follow.
1. Open the web control
In a browser navigate to:
http://<panda-hostname>/where <panda-hostname> is the IP address or hostname of your PandA.
You will see the initial screen:
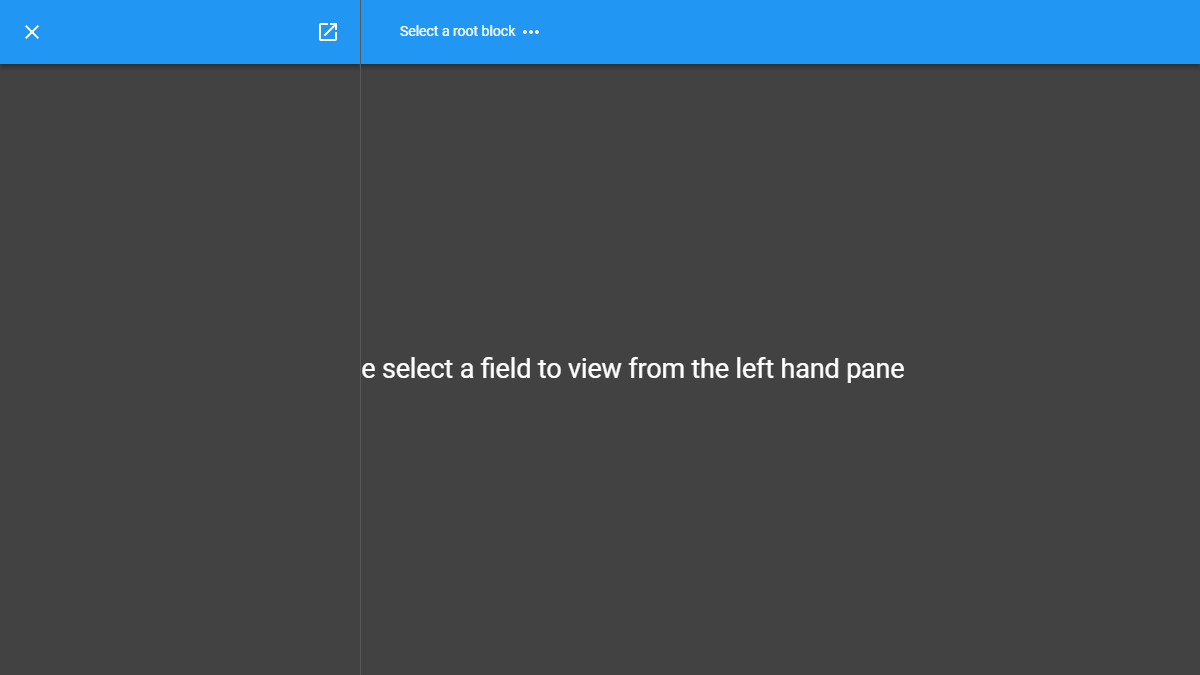
The initial web control screen
2. Select the PANDA block
The drop-down at the top of the page lists the root blocks available on your PandA. Click it and choose PANDA:
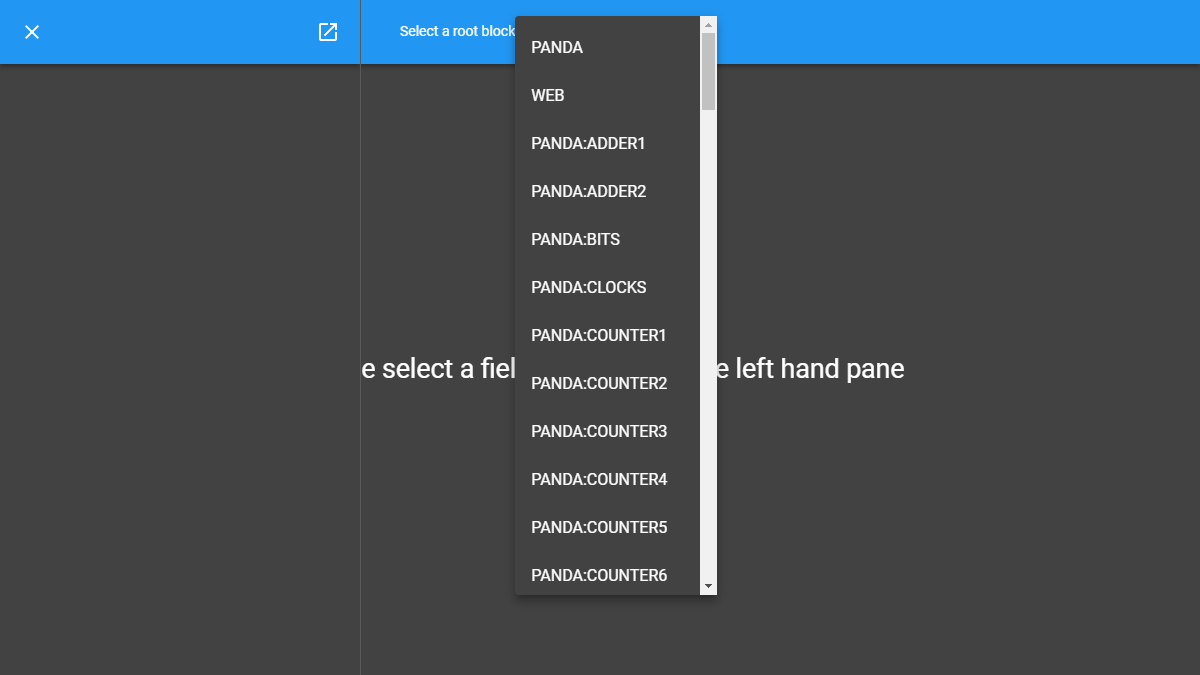
Selecting the PANDA root block
3. View the block details
After selecting PANDA, the left-hand panel loads that block’s details — attributes, groups, and methods:
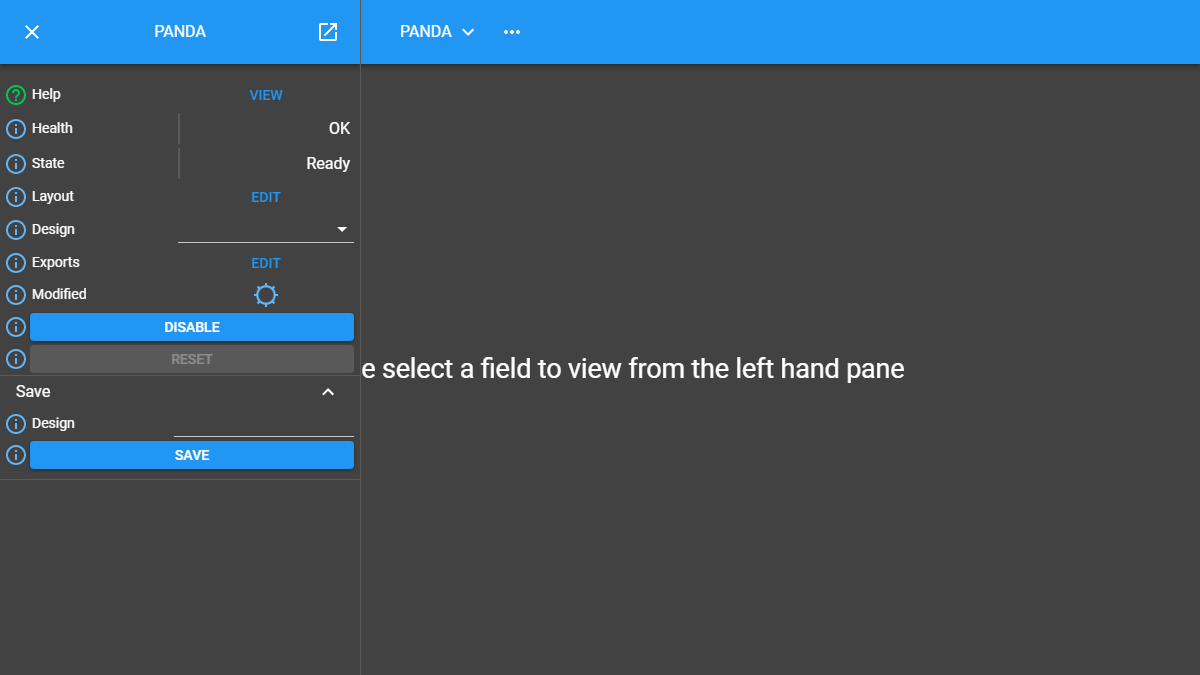
Details for the PANDA block
4. Open the layout
Scroll down in the left-hand panel until you see the Layout attribute. Click Edit to open the block layout in the centre panel:

Click Edit in the Layout attribute row to open the layout panel
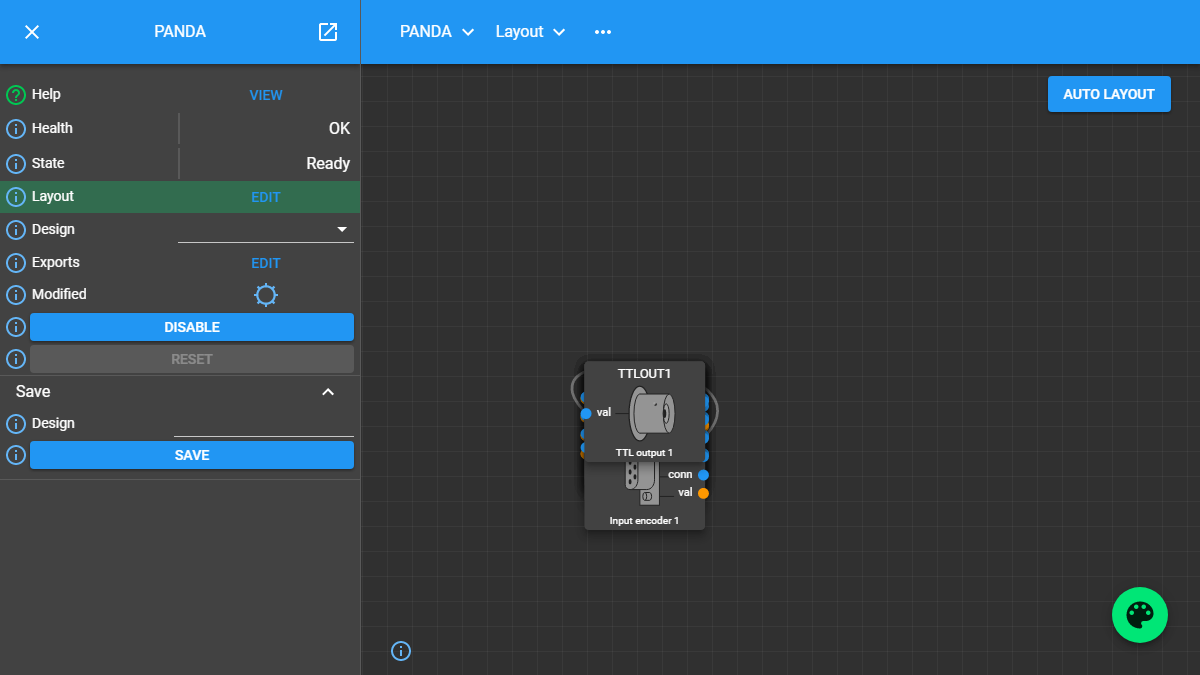
The layout panel showing the functional blocks of the PandA
5. Rearrange blocks
Drag blocks to new positions to suit your preference. A brief spinner indicates that the updated position is being saved to the hardware:
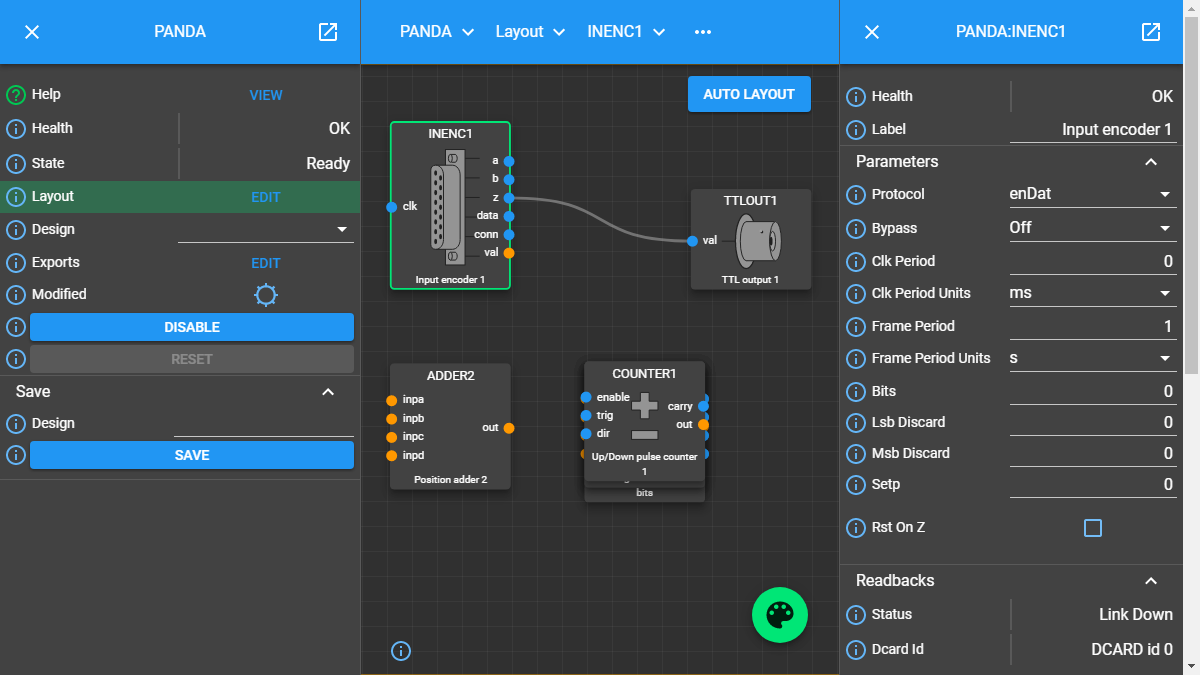
Blocks dragged to new positions; clicking a block loads its details in the right-hand panel
Clicking any block in the layout loads its details in the right-hand panel (the child block view).
6. Wire two blocks together
Click a port on one block and drag to a compatible port on another block to create a signal link:
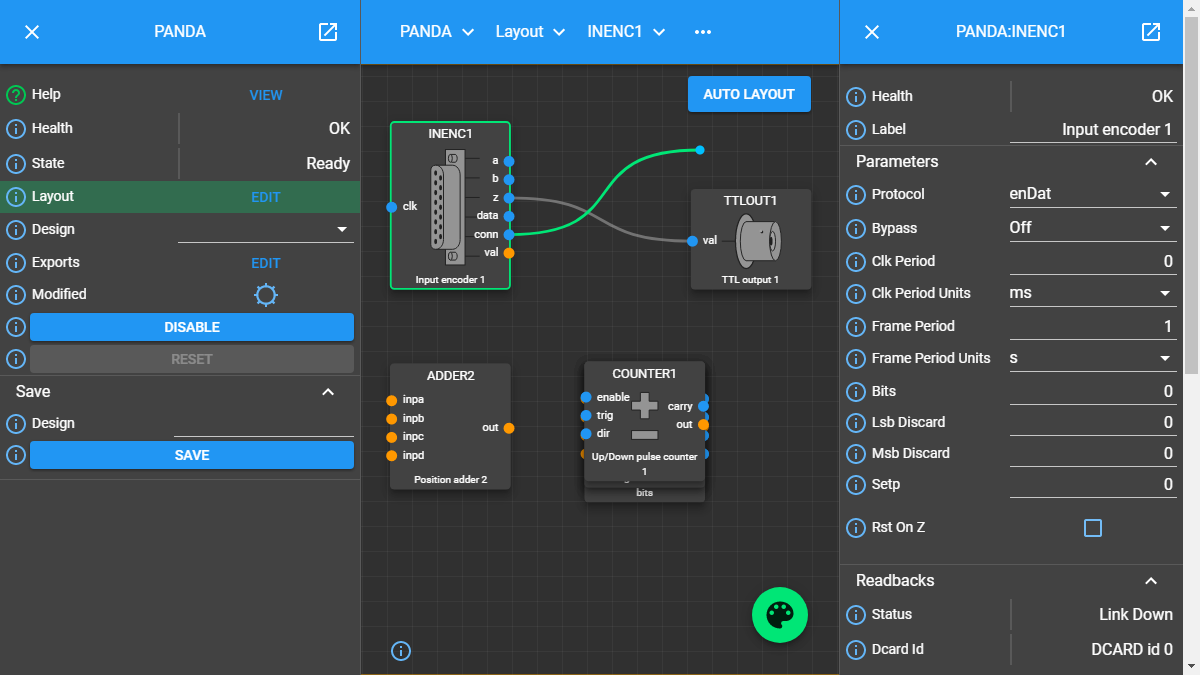
Dragging between two ports to create a new link
Blocks can be wired in any combination to build up more complex signal-processing designs.
Next steps
You now know how to reach the web control, inspect block attributes, and connect blocks together in the layout view. Continue with:
Blinking LEDS — drive some output bits and see real hardware changes.