In this tutorial you will setup your PandA; configure it so you can find it on the network, understand the web interface, and upgrade to the latest firmware.
Prerequisites
A PandA that is powered on and connected to your network.
Getting on the network
By default the PandA uses DHCP — no configuration needed. Simply connect it to your network and power it on.
If you need a static IP instead, see How to get a PandA on the network without DHCP.
Once it has an address, confirm it’s reachable by navigating to:
http://<panda-hostname>/where <panda-hostname> is the IP address or hostname of your PandA, you should see the PandA web interface home page.
Web interface overview
The home page has four sections:
Home — summary of the web interface sections
Docs — hardware, firmware and software documentation
Control — the web control; wire functional blocks together, set parameters, save and load designs (requires the web-control package to be installed)
Admin — install packages from USB, manage SSH keys, and other remote administration
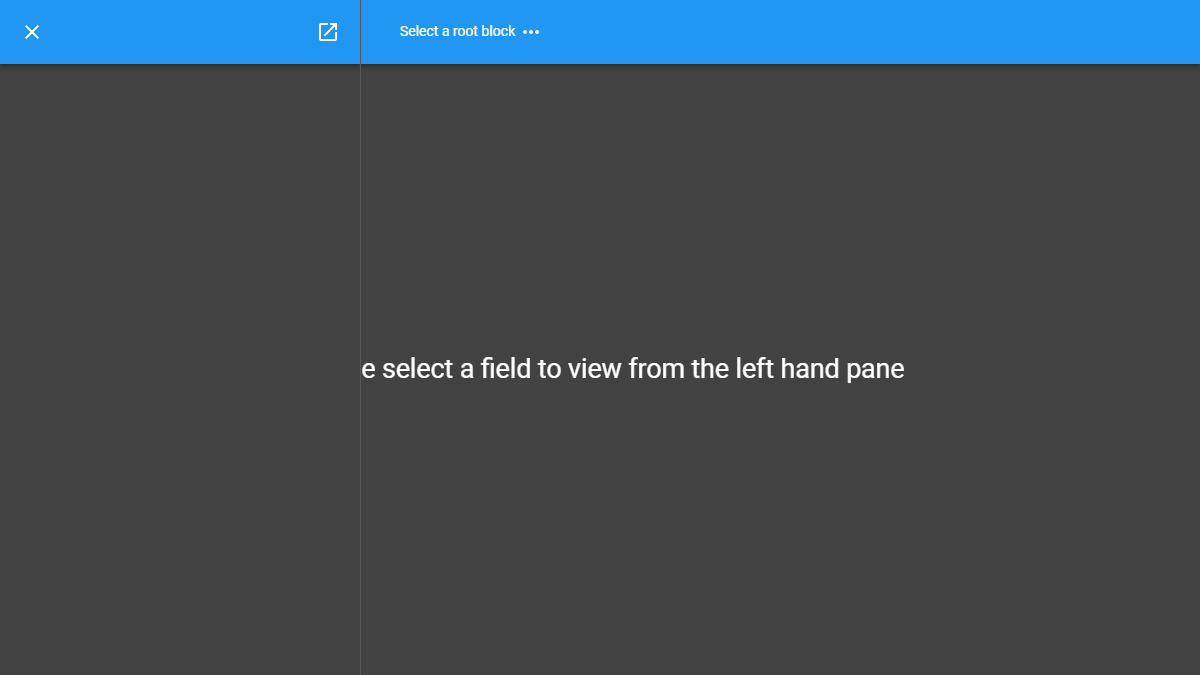
The initial web control screen
Upgrading the firmware
Make sure your PandA has the latest firmware. From the web admin page:
Click Admin in the bottom banner.
Check your current version under Version Information.
If your PandA needs upgrading you can do so with one of the following guides. Make sure to check whether you are need to follow instructions under pre-5.0 to 5.x or 5.0 or later to 5.x:
If you want to upgrade via the web admin interface — see Upgrading a PandA via the web admin interface.
If you want to upgrade via SSH — see Upgrading a PandA over SSH.
Troubleshooting
See Troubleshooting for answers to common questions such as configuring a static IP, disabling subnet validation, recovering from a corrupted SD card, and overriding the FPGA bitstream variant.
Next steps
You have now setup your PandA and upgraded to the latest firmware. Continue with:
Connecting to web control — drive some output bits and see real hardware changes.